Budget DIY Home Improvement Projects

Key Takeaways
- Refreshing your home with budget – friendly DIY projects can significantly improve its charm without breaking the bank.
- Repainting areas of your home, installing a shiplap accent wall, updating kitchen cabinet hardware, and creating custom storage areas are simple and inexpensive ways to transform your living space.
- Other budget – friendly upgrades include adding a sink filter for clean drinking water, upgrading lighting fixtures for a modern look, installing a bathroom vent fan for improved ventilation, and installing a programmable thermostat for energy savings.
- Enhancing your outdoor space is also possible on a budget by improving landscaping with colorful flowers and shrubs, building an outdoor path using gravel or stepping stones, and incorporating landscape lighting for ambiance and safety.
DIY Home Improvement Projects for the Weekend
 Looking for some budget-friendly DIY projects to tackle over the weekend? Here are a few ideas to spruce up your home without breaking the bank.
Repaint Areas of Your Home
I love to refresh my home with a new coat of paint. It’s one task I can do in a day and the change is amazing. Here’s how I go about it:- Choose the right color: I usually pick a color that fits the feel of my room.
- Buy good quality paint: This makes sure the finish looks nice.
- Clean the wall: I get rid of dust and stains for a clean surface to paint on.
- Protect furniture and floors: Before I start, I move things out or cover them up.
- Apply primer coat: A first layer helps make sure the top coat takes well.
- Paint the wall: I use even strokes for a smooth look.
Install a Shiplap Accent Wall
Adding a shiplap accent wall to your home is a great idea. This project can change how a room looks without a big cost. I am going to share some steps to do this DIY home improvement project.- Start by picking the wall you want to transform.
- Next, measure the area of the wall. This helps in buying the right amount of shiplap.
- Now, buy the shiplap from your local store or online.
- After that, cut it according to the size of your wall.
- It’s now time to start fixing it on your wall.
- Use a level and pencil to mark where each piece will go.
- Next, attach each piece to the wall with nails or screws.
- Make sure each piece is aligned properly for a neat look.
- Once done with all pieces, step back and admire your new shiplap accent wall.
Update Kitchen Cabinet Hardware
I love making my kitchen stand out with a DIY home improvement project. One of my favorite projects is updating kitchen cabinet hardware. This project is easy, fast and does not cost much.- I choose new handles and knobs that fit my kitchen look.
- I take off the old hardware from the kitchen cabinets.
- I clean the cabinets where the old hardware was.
- I put on the new handles and knobs in place of the old ones.
Create Custom Storage Areas
I love to create custom storage areas in my home. Here are easy ways you can do this too:- Use boxes or bins. They can hold small items and keep your shelves tidy.
- Add hooks on the walls. They are great for hanging coats, hats, or bags.
- Make use of vertical space. Add shelves or racks high up on walls.
- Build under – stair storage if you have stairs at home.
- Slide – out panels work well in kitchens for storing spices or cooking tools.
- Use furniture that has built – in storage, like beds and coffee tables.
- Use wall – mounted organizers in the office area to keep papers and pens in place.
Budget-Friendly Upgrades for the Home
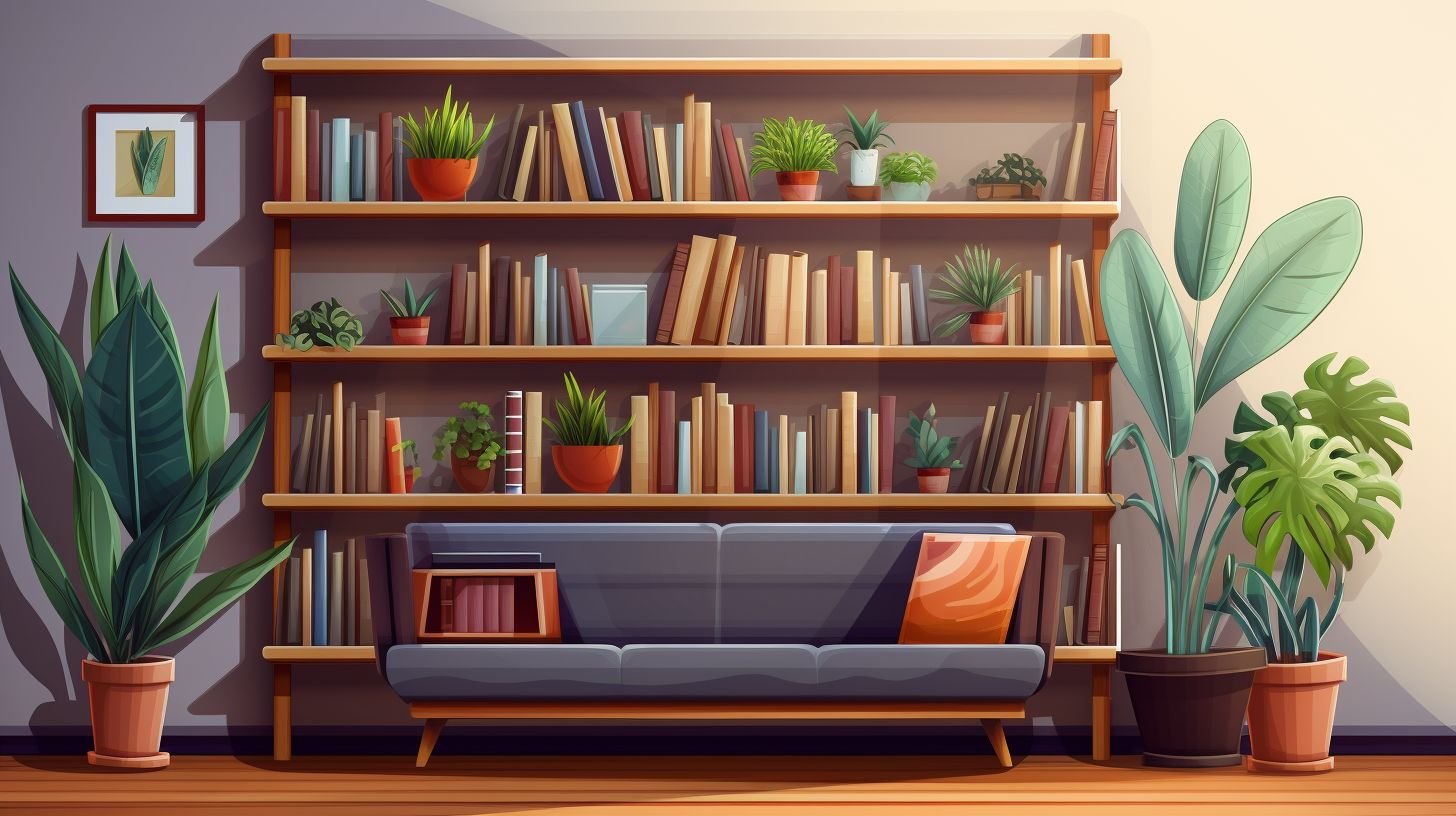 Upgrade your home without breaking the bank. Discover budget-friendly ideas to improve your space and enhance its functionality.
Add a Sink Filter
Adding a sink filter is an easy and budget-friendly way to upgrade your home. It provides clean, great-tasting water without taking up space on your sink or countertop. Here are some reasons why adding a sink filter is a good idea:- Cost-effective: Installing an undersink filter is a cost-effective alternative to buying bottled water. You can save money in the long run by having access to clean drinking water right from your tap.
- Improved water quality: The undersink filter removes impurities and contaminants from your tap water, ensuring that you have a healthier water supply for drinking and cooking.
- DIY project: Adding a sink filter can be done as a DIY project, which means you can save on installation costs. It doesn’t require any specialized skills or tools, making it an easy upgrade for anyone to do.
- Convenient and space-saving: With a sink filter, you don’t need to clutter your countertop with bulky water filters or waste storage space in your fridge for bottled water.
Upgrade Lighting
Upgrading lighting is an easy and affordable way to improve your home. Here are some ideas:- Install stylish pendant lights above your kitchen island or dining table.
- Replace outdated “boob” lights with modern fixtures for a more updated look.
- Enhance the exterior of your home by upgrading outdoor lighting.
- Create a soft ambiance in the kitchen by installing inexpensive lighting under the cabinets.
Install a Bathroom Vent Fan
I recommend installing a bathroom vent fan as a budget-friendly home improvement project. It helps to remove excess moisture and odors from the bathroom, making it a more comfortable and healthier space. Here are some steps to install a bathroom vent fan:- Choose the right fan: Look for a fan that suits the size of your bathroom and has good airflow capacity.
- Gather necessary tools: You’ll need a screwdriver, wire strippers, electrical tape, and duct tape.
- Turn off power: Before starting any electrical work, turn off the power to the bathroom at the circuit breaker.
- Find an installation spot: Determine where you want to place the vent fan in your bathroom ceiling or wall.
- Mark and cut an opening: Use a template provided with the fan to mark the size of the opening on your ceiling or wall. Carefully cut out this opening using a drywall saw.
- Prepare wiring: Run electrical wiring from an existing source or install new wiring if needed. Strip wires, connect them using wire nuts, and secure with electrical tape.
- Mount and secure the fan: Attach brackets or screws provided with the fan to securely mount it in place.
- Connect ductwork: Attach flexible ducting from the vent fan’s outlet to an outside vent hood or exhaust pipe using duct tape or clamps.
- Connect wiring: Follow manufacturer instructions to connect wires from your electrical supply to those on the vent fan unit.
- Test and finish installation: Turn on power at the circuit breaker and test if your new vent fan is working properly by turning it on/off several times. Once confirmed, secure any loose connections and cover openings with grilles or covers provided with the unit.
Install a Programmable Thermostat
Installing a programmable thermostat is a great budget-friendly upgrade for your home. It can help you save money on utility bills by adjusting the temperature when you’re not home. Plus, it’s easy to do yourself! Here’s how:- Purchase a programmable thermostat from your local hardware store or online.
- Turn off the power to your heating and cooling system at the circuit breaker.
- Remove the old thermostat from the wall by unscrewing it from its base.
- Install the new thermostat by following the manufacturer’s instructions.
- Connect the wires from your heating and cooling system to the corresponding terminals on the thermostat.
- Attach the thermostat to the wall using screws or adhesive provided with the unit.
- Turn on the power to your heating and cooling system at the circuit breaker.
Outdoor DIY Home Improvement Ideas
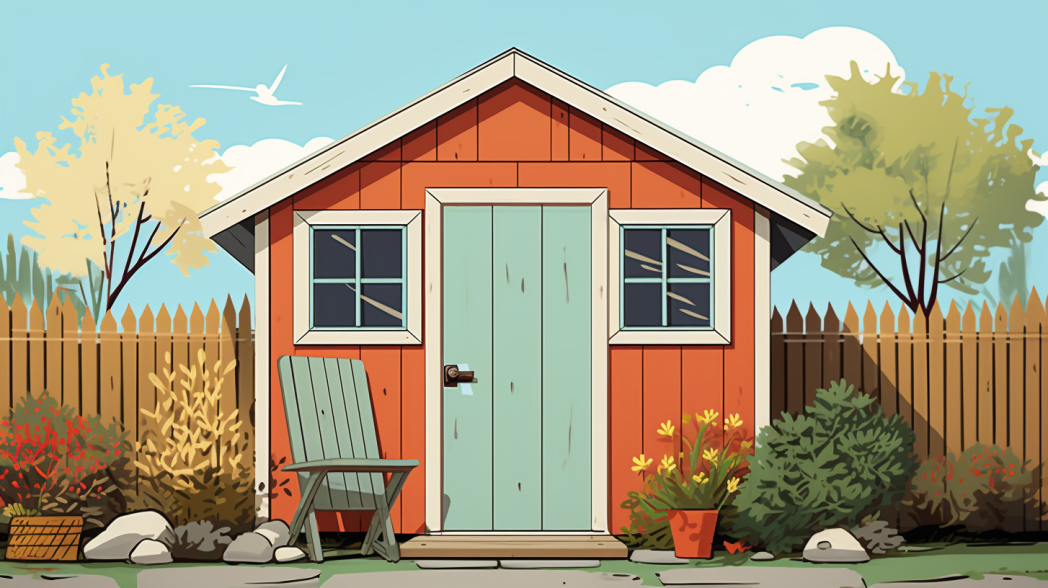 Improve your outdoor space with these budget-friendly DIY home improvement projects.
Improve Landscaping
Improving your landscaping can make a big difference in the appearance of your yard. Here are some budget-friendly ideas to enhance your outdoor space:- Plant colorful flowers and shrubs to add beauty and curb appeal.
- Add fresh mulch to flower beds and around trees for a clean and polished look.
- Install landscape lighting to showcase key features of your yard and provide safety at night.
- Create defined pathways using gravel, pavers, or stepping stones.
- Build raised garden beds or planters for growing vegetables or perennials.
- Incorporate decorative rock or pebbles in areas where grass doesn’t grow well.
- Hang outdoor string lights or install solar – powered path lights for ambiance and functionality.
- Trim overgrown bushes and trees to maintain a neat and tidy appearance.
Build an Outdoor Path
I love the idea of creating a beautiful outdoor path for your home. It’s a great way to enhance your curb appeal and make your outdoor space more functional. Here are some easy steps to help you build an outdoor path:- Start by planning the layout of your path. Consider the size and shape of your yard, as well as any existing features like trees or flower beds.
- Mark out the path using stakes and string. This will give you a clear visual guide as you start digging.
- Dig a trench along the marked path using a shovel or a garden edger. The depth should be about 4 – 6 inches, depending on the type of material you plan to use for your path.
- Once you’ve dug the trench, level out the soil using a rake or a hand tamp. This will create a smooth base for your path.
- Lay down landscaping fabric along the bottom of the trench. This will help prevent weeds from growing through your path.
- Pour a layer of gravel into the trench, spreading it evenly until it fills up about half of the depth.
- Compact the gravel using a hand tamp or plate compactor. This will ensure that it’s firmly in place and won’t shift over time.
- Add another layer of gravel, followed by another round of compacting until you reach your desired height for the path.
- If desired, you can add stepping stones or pavers on top of the gravel base to create a decorative pattern or accentuate certain areas of the path.
- Finally, fill in any gaps between the stones or pavers with additional gravel or sand, sweeping it into place with a broom.
Add Window Boxes
Adding window boxes is a budget-friendly DIY home improvement project. Window boxes can enhance the outdoor aesthetic of a home by adding color and greenery. This project is suitable for those looking for affordable outdoor DIY ideas. Window boxes can be easily customized to match the style and design of the home. They can be filled with a variety of plants, flowers, or herbs to add beauty and fragrance to the outdoor space. Window boxes provide an opportunity to showcase creativity and personal style.- Choose the right materials: Select window boxes made from durable materials such as wood, metal, or PVC that can withstand various weather conditions.
- Measure carefully: Take accurate measurements of your windows before purchasing or building window boxes to ensure they fit properly.
- Install brackets or hangers: Use sturdy brackets or hangers to secure the window boxes onto the exterior of your home. Make sure they are strong enough to support the weight of the box and its contents.
- Add proper drainage: Drill holes in the bottom of the window box to allow excess water to drain out. This helps prevent root rot and ensures healthy plant growth.
- Select appropriate plants: Consider the amount of sunlight your windows receive throughout the day and choose plants that thrive in those light conditions. Flowers like petunias, geraniums, or pansies are popular choices for window boxes.
- Mix textures and colors: Create visual interest by combining different types of plants with varying heights, leaf shapes, and flower colors in your window boxes.
- Maintain regular watering: Keep an eye on soil moisture levels and water your plants regularly to prevent them from becoming dry or wilted.
- Seasonal updates: Change out your plantings with each season to keep your window boxes looking fresh and vibrant all year round.
DIY Projects to Enhance Your Living Room
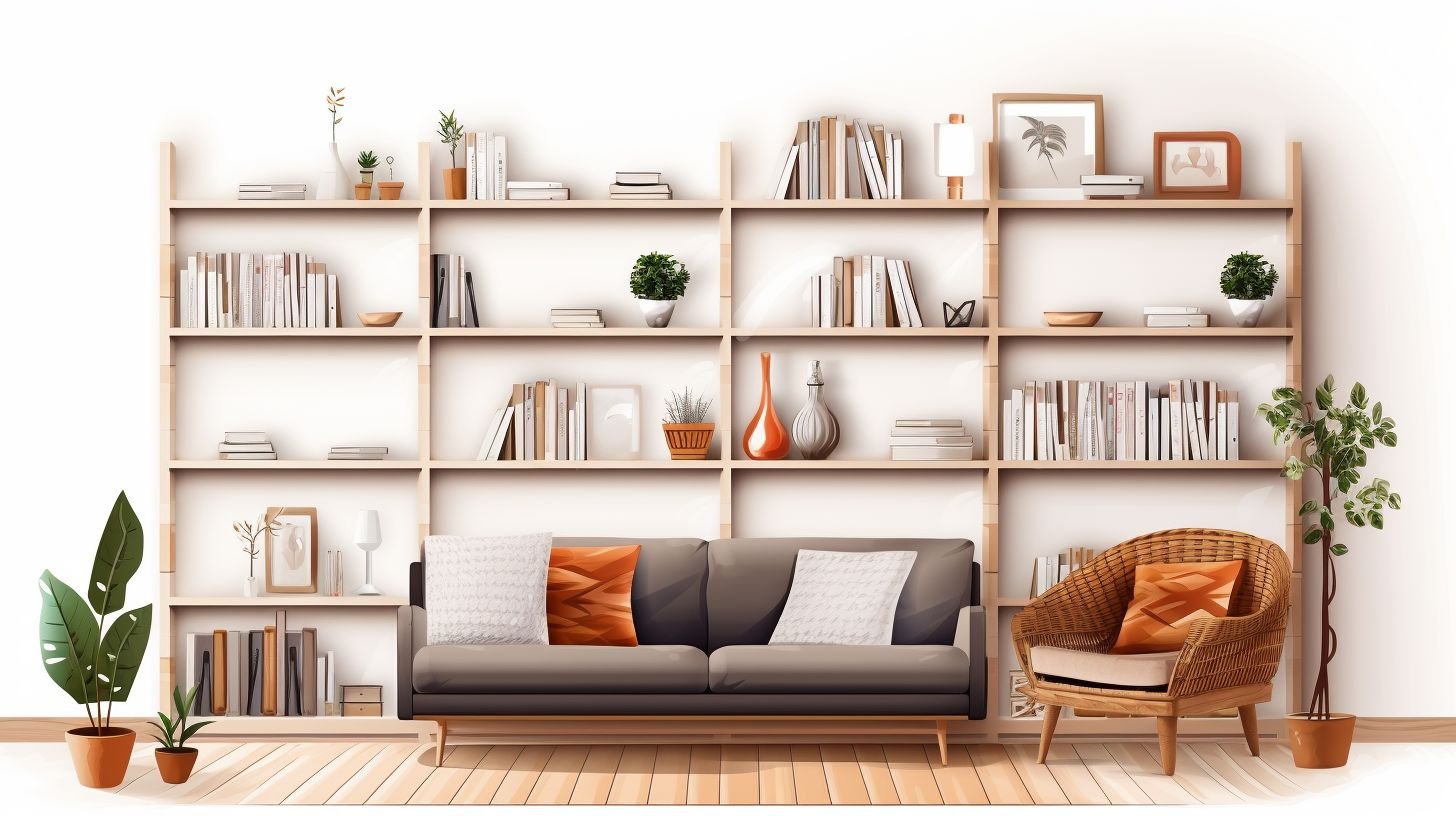 Transform your living room into a stylish and cozy space with these easy DIY projects. From installing built-in bookshelves to upgrading small appliances, there are plenty of budget-friendly ideas that will make a big impact. Read on to discover how you can enhance your living room without breaking the bank.
Install Built-In Bookshelves
Installing built-in bookshelves can enhance your living room and add storage space. They can be a budget-friendly addition to your home. Customizing the bookshelves to fit your space and style is easy. Building them yourself can save money compared to buying pre-made shelving units. You can use the bookshelves to display books, decorative items, and personal mementos. They create a focal point in your living room and make it feel more organized and put together.Upgrade a Small Appliance
I love finding ways to spruce up my home without spending a lot of money. One of my favorite budget-friendly DIY projects is upgrading a small appliance. It’s amazing how a simple change can make a big difference in the look and feel of a room. Here are some easy and inexpensive ideas to upgrade your small appliances:- Replace the knobs or handles: If your appliance has worn-out or outdated knobs or handles, consider replacing them with something new and stylish. You can find a wide variety of options at your local hardware store or online.
- Give it a fresh coat of paint: Is your toaster or blender looking dull? Give it a makeover by painting it in a fun color that matches your kitchen decor. Just make sure to use paint that is safe for appliances and follow the instructions carefully.
- Add decals or stickers: Personalize your small appliances by adding decals or stickers. Whether you want to add floral patterns, stripes, or even inspirational quotes, there are plenty of options available. Just make sure to clean the surface thoroughly before applying.
- Upgrade the power cord: If the power cord on your small appliance is frayed or damaged, consider replacing it with a new one. Opt for a cord that matches the style of your appliance to create a cohesive look.
- Apply removable wallpaper: Another way to upgrade your small appliances is by applying removable wallpaper to give them a fresh and trendy look. Choose patterns or textures that complement your kitchen decor.
Install Under-Cabinet Lighting
Installing under-cabinet lighting is a budget-friendly and impactful DIY home improvement project. It can enhance the look and functionality of your living room without breaking the bank. The estimated cost of this project will depend on the size of your space and the materials you choose. However, it can be done relatively inexpensively by using LED strip lights or puck lights.- Provides additional task lighting for activities like chopping vegetables or reading recipes.
- Creates a warm and inviting ambiance in your living room.
- Highlights your countertops and backsplash, adding depth to your kitchen design.
- Helps to eliminate shadows and dark corners, making it easier to see while working in the kitchen.
- Determine whether you want hardwired or plug-in lights. Hardwired lights require electrical work, while plug-in lights are easier to install.
- Measure the length of your cabinets to determine how many light strips or puck lights you’ll need.
- Decide on the type of lighting: LED strip lights are flexible and can be cut to fit any space, whereas puck lights provide more focused illumination.
- Turn off the power supply before beginning any electrical work.
- Carefully plan where you want each light to be placed for optimal illumination.
- Follow the manufacturer’s instructions for mounting the lights securely.
- Conceal wires by routing them through channels or using adhesive – backed clips.
- Test the lights before permanently securing them to ensure they are functioning correctly.
Easy Bathroom Makeover Ideas
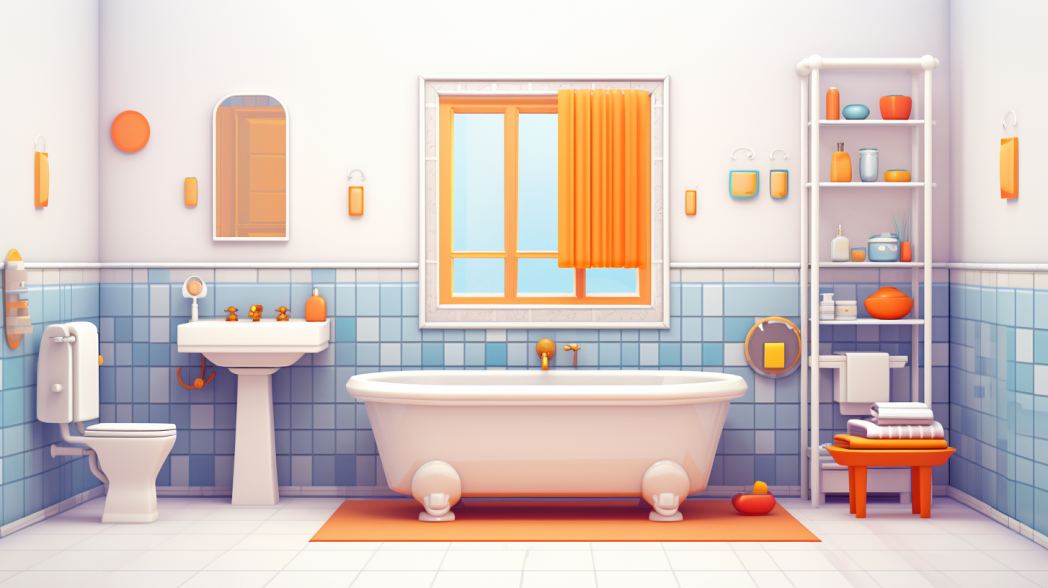 Transform your bathroom with these simple and affordable makeover ideas. Replace old bath hardware, freshen up the caulk, and upgrade the showerhead for an instant refresh.
Replace Bath Hardware
Replacing bath hardware is a simple and affordable way to give your bathroom a makeover. Here are some options for bath hardware replacement:- Towel bars: Updated towel bars can add style and functionality to your bathroom.
- Toilet paper holders: Choose a new toilet paper holder that complements the overall look of your bathroom.
- Shower curtain rods: Replace your old shower curtain rod with a new one that matches your updated bath hardware.
Put Down a Fresh Bead of Bathroom Caulk
One easy bathroom makeover idea is to put down a fresh bead of bathroom caulk. This simple project can give your bathroom a fresh and clean look without breaking the bank. It’s a budget-friendly way to update the appearance of your bathroom. Here are some key steps to follow:- Start by removing the old caulk using a caulk removal tool or a razor blade. Make sure to completely remove all traces of the old caulk for better adhesion.
- Clean the area thoroughly with soap and water, and make sure it is completely dry before applying the new caulk.
- Choose a high – quality silicone or acrylic latex caulk that is specifically designed for bathrooms.
- Load the caulk into a caulking gun and cut off the tip at a 45 – degree angle.
- Apply an even bead of caulk along the joint or seam, pressing firmly as you go.
- Use your finger or a damp cloth to smooth out the caulk and remove any excess, creating a clean and neat finish.
- Allow the caulk to dry according to the manufacturer’s instructions before using your bathroom.
Replace a Shower Head
Replacing a shower head is a quick and easy DIY home improvement project that can give your bathroom a fresh and updated look. Here are the steps to replace a shower head:- Turn off the water supply: Before starting, make sure to turn off the water supply to your shower. This will prevent any water from flowing while you are replacing the shower head.
- Remove the old shower head: Use an adjustable wrench or pliers to unscrew the old shower head from the shower arm. Turn it counterclockwise until it comes off.
- Clean the shower arm: Once you have removed the old shower head, clean the threads of the shower arm using a cloth or brush to remove any debris or buildup.
- Apply plumber’s tape: Wrap several layers of plumber’s tape around the threads of the shower arm in a clockwise direction. This will help create a tight seal when installing the new shower head.
- Install the new shower head: Screw on the new shower head onto the threaded end of the shower arm and hand tighten it until it is secure. Make sure not to over-tighten, as this can cause damage to both the shower head and arm.
- Test for leaks: Once installed, turn on the water supply and check for any leaks around the connections. If there are any leaks, use an adjustable wrench or pliers to gently tighten them.
- Enjoy your new shower experience: Once everything is secure and leak-free, test out your new shower head! Enjoy improved water flow, different spray settings, or any other features that come with your new shower head.
Kitchen Upgrades on a Budget
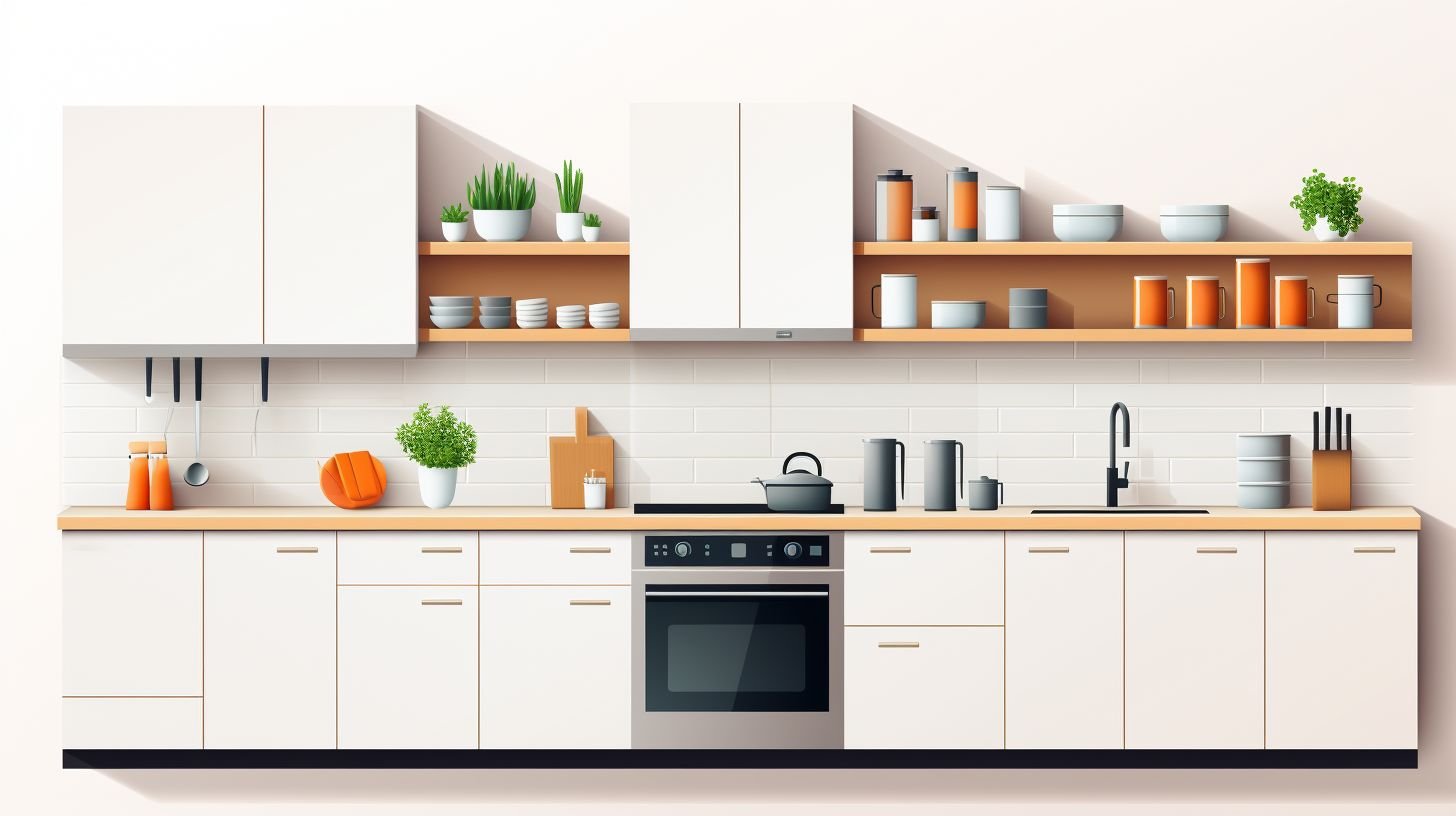 Transform your kitchen without breaking the bank by giving your cabinets a flawless new finish, adding a budget-friendly backsplash, going modular with shelving, and creating a small appliance hideaway.
Give Kitchen Cabinets a Flawless, New Finish
I love finding budget-friendly ways to update my home, and one area that can make a big impact is the kitchen cabinets. Here are some easy steps to give your kitchen cabinets a flawless, new finish:- Start by cleaning the cabinets thoroughly. Use mild soap and water to remove any grease or grime.
- Sand the cabinets lightly to create a smooth surface for painting. You don’t need to remove all the old finish, just rough it up a bit.
- Apply a primer to the cabinets to ensure that the paint adheres well. This will also help cover any stains or discoloration.
- Once the primer is dry, it’s time to paint! Choose a high – quality paint that is specifically made for cabinets. You can use either a brush or a roller, depending on your preference.
- Apply two thin coats of paint, allowing each coat to dry before applying the next one. This will give you a smooth and even finish.
- If desired, you can add some decorative touches like new hardware or trim pieces to give your cabinets an extra special look.
Add a Backsplash for Less
Adding a backsplash can give your kitchen a fresh new look without breaking the bank. Here are some budget-friendly ways to add a backsplash:- Use peel-and-stick tile: Peel-and-stick tiles are affordable and easy to install. They come in a variety of colors and designs, allowing you to customize your backsplash.
- Repurpose materials: Look for inexpensive materials that can be repurposed as a backsplash. For example, you could use reclaimed wood or tin ceiling tiles to create a unique and affordable backsplash.
- Painted backsplash: If you’re on an extra tight budget, consider painting your backsplash instead. Use a high-quality paint that is suitable for the kitchen, and apply several coats for durability.
- Contact paper: Another budget-friendly option is using contact paper. It comes in various patterns and can be easily applied over existing walls or tiles.
- Beadboard paneling: Beadboard paneling is an inexpensive option that adds texture and visual interest to your kitchen. Install it horizontally or vertically to create a charming backsplash.
Go Modular with Shelving
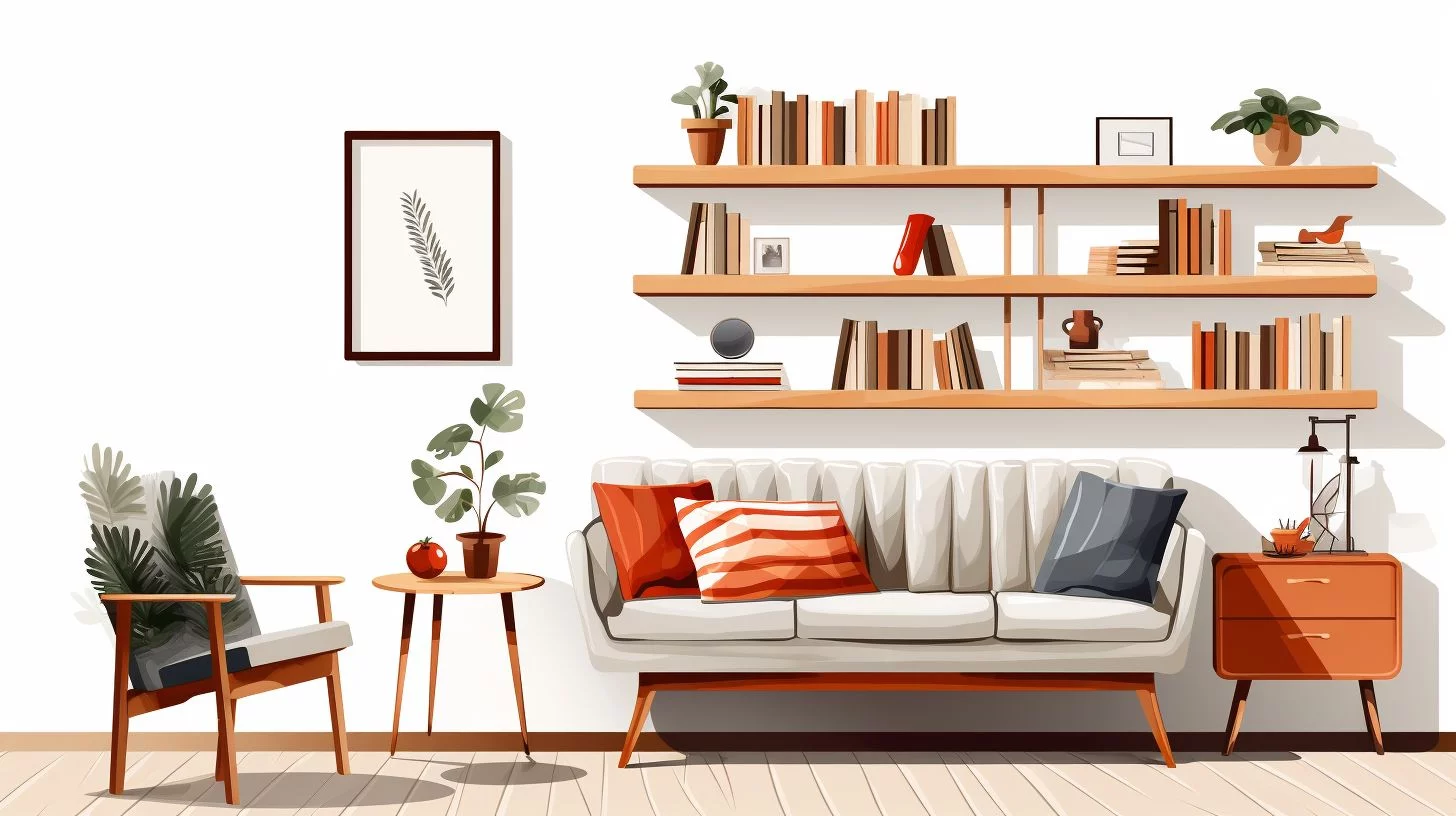 When it comes to creating extra storage space in your home, going modular with shelving is a cost-effective and customizable solution. Modular shelving units are easy to install and can be adjusted or expanded as needed. Here are some reasons why you should consider going modular with shelving:
- Increase Storage Capacity: Modular shelving units allow you to maximize vertical space and make the most of unused areas in your home. With adjustable shelves, you can customize the height and width of each shelf to accommodate different items.
- Versatile Use: Whether you need storage for books, decorations, or everyday essentials, modular shelving can adapt to your needs. You can choose from various sizes and configurations, including wall-mounted units or freestanding shelves.
- Easy Installation: Unlike built-in shelves that require professional installation, modular shelving can be easily assembled and installed by yourself. Most units come with clear instructions and only require basic tools.
- Budget-Friendly Option: Modular shelving is often less expensive than custom-made built-in options. You can find affordable options in a wide range of materials, such as wood, metal, or plastic.
- Stylish and Modern Look: Many modular shelving units come in sleek designs that add a contemporary touch to any room. You can choose from different finishes and colors to match your existing decor.
Make a Small Appliance Hideaway
Creating a small appliance hideaway in the kitchen is a budget-friendly upgrade. Here are some tips for making your own small appliance hideaway:- Measure the space: Determine the dimensions of the area where you want to build your hideaway. Make sure to consider the height, width, and depth of the appliances you plan to store.
- Select materials: Choose sturdy materials that can withstand the weight of your small appliances. Consider using plywood or MDF for the construction of your hideaway.
- Plan the layout: Decide how many appliances you want to fit in your hideaway and plan their placement accordingly. Consider grouping similar appliances together for easier access.
- Build the enclosure: Construct a box-like structure using your chosen materials, ensuring it fits snugly into the designated space. Add shelves as needed to accommodate different-sized appliances.
- Install doors or curtains: Depending on your preference, mount doors or hang curtains on your hideaway to keep it concealed when not in use. This will also help protect the appliances from dust and dirt.
- Add electrical outlets: If necessary, hire a professional electrician to install additional electrical outlets inside your hideaway for easy access to power your appliances.
- Test functionality: Before placing your appliances in the hideaway, make sure it functions properly by opening and closing the doors or curtains smoothly.
Can I Use Budget DIY Home Improvement Projects for My Home Decor?
Looking to spruce up your space without breaking the bank? Look no further! Here are some budget-friendly home decor tips for your home improvement projects. Whether it’s repurposing old furniture or adding a fresh coat of paint, these DIY ideas are perfect for transforming your home on a budget.


